
An easy step by step to drawing a Halloween pumpkin
Would you like to learn how to draw a Halloween pumpkin?
Halloween is only a few months away and it’s never too early to start planning so I’m going to write a few ‘how to draw’ posts that have a Halloween theme.
The tradition of carving pumpkins at Halloween is thought to have been started by the ancient Celts who would carve turnips to create a Jack-o-Lantern. A burning ember would be placed inside them and the lanterns left in windows to ward off evil spirits during the Samhain festival which was held at the end of October. Irish settlers to the New World carried on this tradition, replacing the turnips with pumpkins.
Let’s Draw a Pumpkin First

Draw the pumpkin with a pencil.
You’ll need to rub out construction lines here and there so try and use a fairly light touch.
Quick Links:
Finished Pumpkin
Draw a Pumpkin Face
Halloween Teeth
Add some colour
Start by drawing a slightly flattened circle. This represents the main outline of the pumpkin.

Draw the Pumpkin’s Lobes
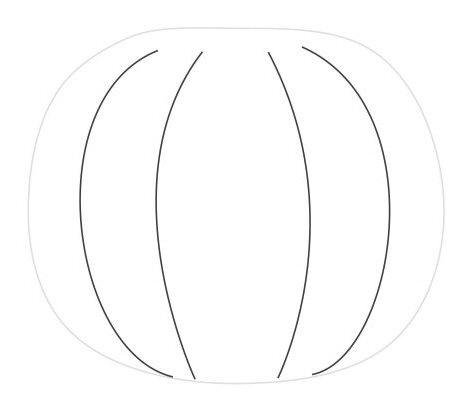
Next draw a few curved lines for the lobes of the pumpkins. Don’t start exactly at the top, leave some space for the pumpkin’s stalk and the lobes on the other side.
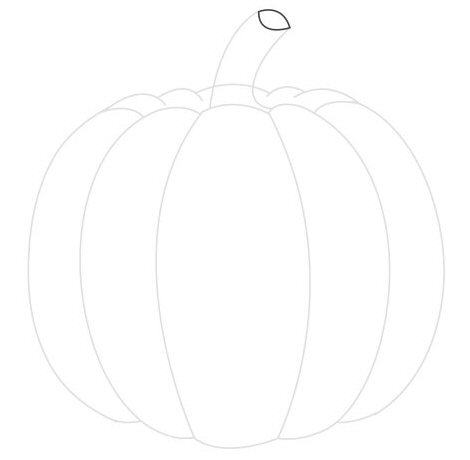
Curves on the Top and Bottom
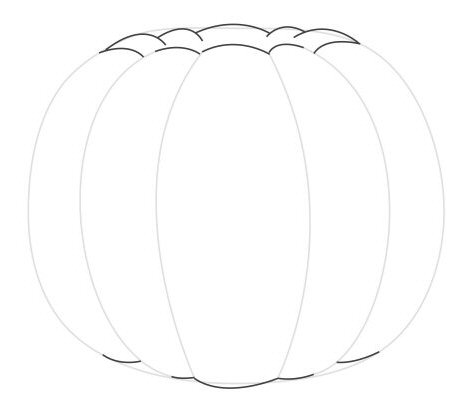
Join the lobe lines to each other with small curves as shown. Draw a few of these small curved at the top of the main shape – these are the lobes at the back of the pumpkin.
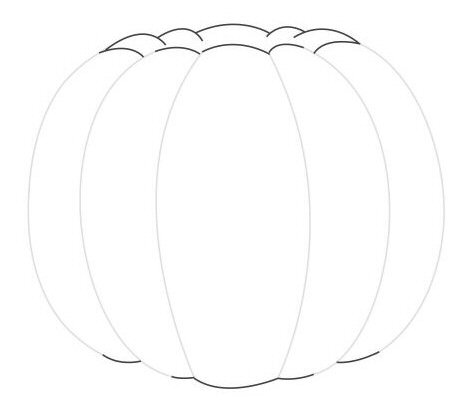
Don’t forget to rub out any unwanted lines.
Draw the Stalk
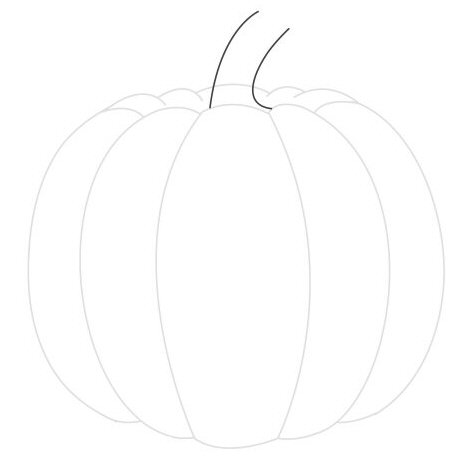
Next draw two curved lines for the stalk. You can have it facing to the left or right, your choice!
Connect the two stalk lines with a small oval shape. This is the upper facing edge of the pumpkin’s stalk.
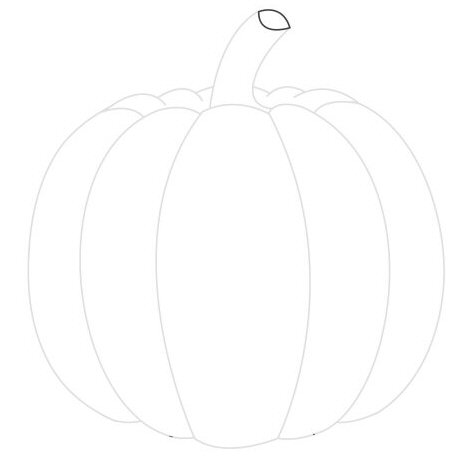
Again remove any unwanted lines, this time it is the bit of one of the lobes that seems to go through the stalk.
One Finished Pumpkin
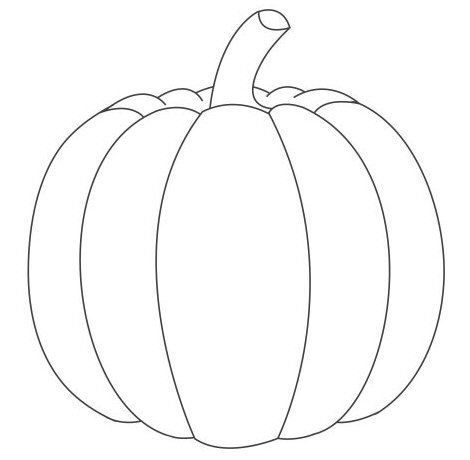
And here’s the finished pumpkin.
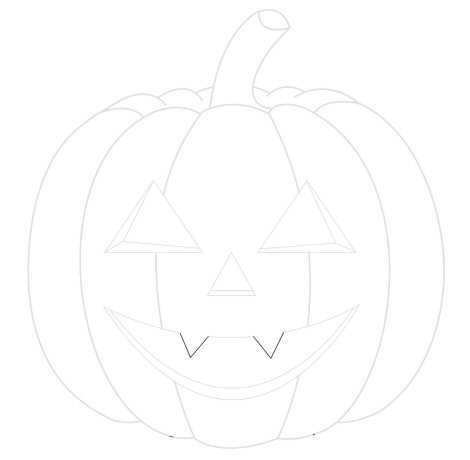
Draw the Halloween Pumpkin Face

Halloween pumpkins are usually carved with triangular eyes and nose and a grinning smile. I’ll be keeping to that tradition.
Draw to triangles next to each other for the eyes and another one in the middle of these and slightly below them for the nose.
Then add two curved lines below the nose for the pumpkin’s mouth.

Rub out any lobe lines that go through the face.

Pumpkins have quite a lot of flesh and you should be able to see that in the eyes, nose and mouth. Add a few extra lines to these to show the flesh and add depth to your drawing.
Give the Pumpkin Some Teeth – Draw a Scary Pumpkin!
You could leave the pumpkin there (with a toothless grin!) or add a couple of scary fangs to its mouth.
Simply draw two triangles on the upper mouth curve. Remember to rub out the excess line sections of the mouth.
A Halloween Pumpkin

Now you know how to draw a Halloween Pumpkin why don’t you have some fun and try out different facial features?


Complete the Halloween Pumpkin with some Colour
Colour in the pumpkin with whatever tools you have to hand. Have fun with colours and textures.

If you’ve enjoyed this post then you might want to have a look at
how to draw a bat
how to draw a skull
how to draw a bunny
how to draw a frog